Hi Everyone,
So far if you’ve followed the steps in tutorials 1 – 3 you will have gone through sculpting a master, using this to make a mold from insta-mold, then casting a bunch of tiles.
Hopefully, the fruits of your labour should be looking like this:
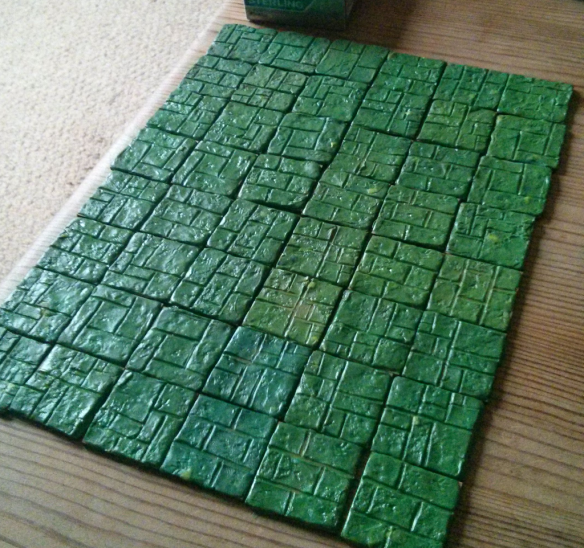
Glorious
I like to organise them in neat rows as above because it makes painting them in the next stage so much easier.
Firstly you’re going to need a can of grey primer, if you’re an airbrush fan you can use this instead. I use the stuff below from Halfords, you get loads of it in a can and its much cheaper than any hobby specific stuff I’ve come across.
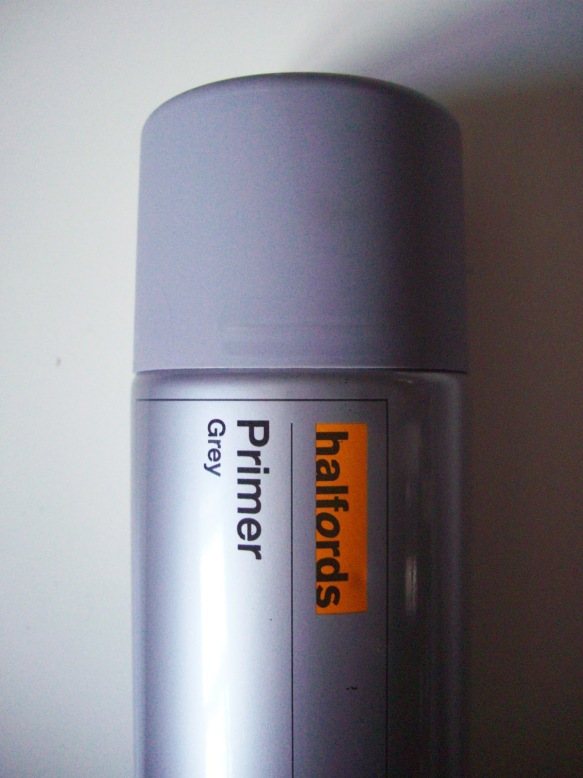
Halfords Primer is great
Now then, with your tiles all organised neatly on some newspaper or similar, spray them all grey. Try and make sure you get a nice even coat, spraying from roughly 30cm away and making sure to keep the can moving so you don’t get pools of paint.
Leave them to dry for half an hour. If you’re lucky the paint will have formed a brittle bond which is holding the tiles together. Don’t disturb this – it’s your friend 🙂 Next get some brown wash. I’m a fan of this stuff from army painter. Get a nice big brush and wash it all over your tiles, making sure to allow a little, but not too much pooling. Hopefully the brittle bond will hold the tiles together else you’ll have to brace your tiles against something as you paint the wash on them all, systematically sweeping across them in rows.
Once that’s dried your bond will be stronger, get a black wash like GW Nuln Oil and repeat the process.

Wash those tiles…
Once your wash is totally dry, the next stage is dry brushing. I like to use the off white stone coloured drybrushing paint from GW, but you could use any paint as long as most of it is wiped from your brush onto a tissue or something.
OK, so making use of the fact that your tiles are still bonded together with paint, you want to dry brush your off white paint over the tiles and make sure you capture all the edges. It’s a really transformative stage as it really gives the illusion of a much lighter overall colour.

Drybrushed tiles
That’s the main part done. If you want, you can add decoration to your tiles with clumps of static grass or pools of blood. I like to use the former to cover up any bits of bad casting that might have occurred.
My tiles looks like this:

Beautiful finished product
You may be interested to know that I also use the same method to create bases for my Frostgrave and Dungeon figures (instead of the MDF I use a 25mm plastic base).
Alrighty then, once you’ve done this you could just call them finished, however some people I have spoke to recommend gluing the tiles together in fixed room sizes (such as 4×4 etc), to stop you from accidentally disturbing the tiles during play. I however, will be applying some sticky rubber magnetic sheet (such as the pic below) to the back of my tiles and playing on a magnetic surface, as I want to maintain their 100% modularity!

Anyway, thanks for reading. Drop me a note below if you’ve given this project a try, and why not nip over to my facebook page from the link below and send me a picture of your results? I’d be really stoked to hear from you.
Thanks
Jimmi

Nice tiles man!
LikeLike
Thanks fella, let me know if you give them a try 🙂
LikeLike
Pingback: How to make dungeon tiles for D&D, Dungeon Saga, and Dungeons of Orkney – Part 3) Casting your first Tile | Jimmi Waz 'Ere